Gamecube Rom Highly Compressed Portable ((hot)) Jun 2026
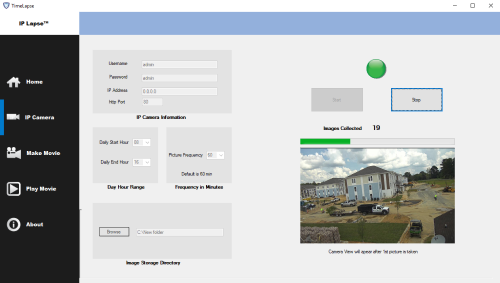
Click on > Paths > Add and select the folder where your uncompressed .iso files are stored.
, the focus is on balancing with system performance . The Gold Standard: RVZ Format
Legacy compression formats from the early days of Wii softmodding. Compression Level: Moderate. gamecube rom highly compressed portable
SD:\Emulation\GC\ROMs\ ├── Action\ ├── Adventure\ ├── Racing\ └── Multiplayer\
Ensure your device has a decent processor (Snapdragon 700 series or newer recommended for Android) and you’ll be enjoying the golden era of Nintendo on the bus, in the park, or from the comfort of your bed. Happy gaming Click on > Paths > Add and select
Exceptionally high (often reducing files to 300MB–800MB).
: The modern standard for Dolphin. It offers the best shrink ratio and is lossless. CISO : Compact ISO. Mostly used for older Wii USB loaders. 🚀 Why Use Portable Compressed ROMs? Save Space : A 1.35 GB ISO can often shrink to under 600 MB . Compression Level: Moderate
It uses advanced compression algorithms (like Zstandard or LZMA2) to strip out garbage data while preserving the precise structure of the original disc.
A dedicated retro handheld that is small enough to fit in a pocket but powerful enough to handle the full GameCube library. How to Compress Your Own ROMs for Portability
A classic, efficient format supported by older tools and Wii loaders. 3. Creating Portable, Compressed ROMs (The Process)
Standard GameCube games come as ISO files. Every official GameCube disc is exactly 1.35 GB. This size is fixed even if the actual game data only takes up 200 MB. The remaining space is filled with useless dummy data called "garbage data." Compression removes this junk data to save space. Standard ISO .iso Size: Always 1.35 GB Pros: Maximum compatibility with older emulators. Cons: Wastes massive amounts of storage space. NKIT ISO (Nintendo Toolkit) File Extension: .nkit.iso Size: Highly compressed (often 200 MB to 800 MB) Pros: Smallest possible size for archiving data.